 S2K Commerce - Products Dropdown
 Web Content Viewer

How to Refinish Your Wood Dresser or Table
Do you have an old dresser or table that you've considered tossing because the surface is damaged, dirty or faded? Why not recycle it by stripping the old finish and applying a new coat of stain.
How to Refinish a Dresser
Step 1: Choose a Stain
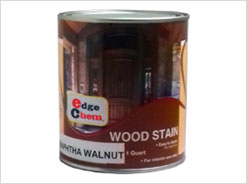
Staining beautifies wood and helps reduce the contrast between the different types of grains in different pieces of furniture. There are two types of stains, oil-based and water-based. Oil-based stains penetrate the wood without raising the grain. However, they give off fumes causing a strong odor. Water-based stains are more eco-friendly and offer easy cleanup with soap and water. No matter what, don't use deck stain on furniture.
Consider the color or shade of stain to use according the room size. To open up a room and make it feel larger, opt for a lighter stain. To add warmth to a larger room and make it seem cozier, choose a darker stain.
When staining dressers, you usually don't have to worry about inside the drawers or cabinets since these parts are rarely visible.
SAFETY ALERTS!
Before starting, select a well-ventilated work area like the garage. Open the windows or turn on fans. Better yet, work outside if the weather permits.
Never refinish near extreme heat or open flame. Stripping chemicals and stains are highly flammable and can ignite.
Step 2: Remove Hardware, Drawers and Clean Surfaces
Remove drawers, handles, knobs, closures and other hardware using a screwdriver or other applicable tools. Be sure to protect floors and any other surfaces in your work area with drop cloths.
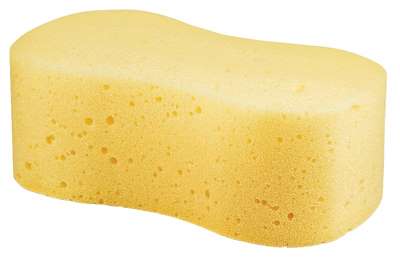
Clean the wood with trisodium phosphate (TSP) — a heavy-duty cleaning powder. Dilute the TSP with water according to manufacturer specifications. Use a sponge or spray bottle to apply the TSP solution and then wash all exterior surfaces. Let them dry completely before the next step.
SAFETY ALERT!
Use TSP as directed by the manufacturer. TSP can corrode metal and damage finished wood. Be sure to wear protective eyewear, clothing and rubber gloves.
Make repairs if you need to. Most furniture that seems hopeless can be brought back to life with a little TLC and some elbow grease. With the help of a hammer, some nails or screws, a screwdriver and a bottle of wood glue, you can repair a surprising number of breaks, cracks or minor structural problems.
Step 3: Remove Old Finish
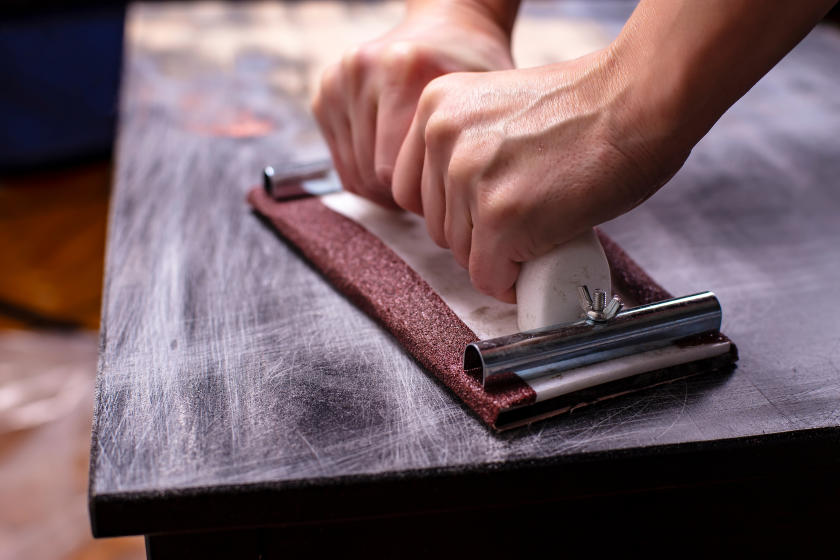
Now it's time to put some muscle into it. Using a medium-low grit sandpaper, sand off the old finish and smooth out any imperfections in the wood. To remove finishes quickly from a large surface, try a belt sander. Be careful not to damage the item by sanding too deeply. Sand carefully by hand around any decorative details and curved areas on dressers.
Always sand with the grain of the wood. Any swirl marks caused by sanding will stand out when you stain.
You can also use a chemical stripper to remove the old finish. Depending on the kind of stripper you use, apply it with a clean cloth or paintbrush, or spray it directly onto the wood. It will begin eating away at the old finish almost immediately. Use a paint scraper or sponge to wipe off the old stain but be sure to protect your hands with rubber gloves.
Once you've removed the old finish from the surface, use a clean rag to wipe down the surface so that the wood is completely bare. Let it dry.
If you use a chemical stripper to remove the old finish, it's a good idea to lightly sand the surface afterwards with a fine-grit sandpaper. This will ensure a tighter bond between the wood and the new coats of stain.
Step 4: Apply Sanding Sealer
Applying sanding sealer is similar to priming the wood. The sealer helps the wood absorb the stain evenly. It can also be applied after staining to reduce the number of finish coats necessary.
Shake the sealer container thoroughly and apply two thin coats using a small paintbrush. Don't let the sealer puddle or fill in decorative grooves. Wipe off any excess stain with a clean cloth. Let the sealer dry completely before lightly sanding with medium-grit sandpaper in the direction of the grain. Wipe the wood again with a clean cloth.
Step 5: Start Staining
Apply stain with a cloth or medium-sized paintbrush and allow it to penetrate into the wood. Coat once for a light stain. Apply additional coats for a darker color. Wipe off excess stain with a clean cloth and allow the piece to dry completely. Lightly sand between coats with fine-grit sandpaper.
HELPFUL TIP
If you are using water-based stains, you can minimize raising the grain by moistening the wood with a damp cloth and sanding. Allow the wood to dry completely and sand lightly with fine-grit sandpaper. Repeat as necessary.
Step 6: Finish It
When you're done staining and the surfaces have dried, make sure you're happy with the color of the wood. Use a small paintbrush to apply a light polyurethane sealer or clear varnish to the wood to give it an extra layer of protection and a shine that will last for years.
How to Refinish a Table
Step 1: Disassemble and Prepare the Surface
Take the table apart (if possible) and follow the steps below for each part separately. Make any necessary repairs before refinishing any part. Select a well-ventilated work area such as a garage or outdoor deck. Make sure your furniture refinishing area is dry and dust-free—water and dirt can ruin a fresh coat of stain. Use masking tape to secure newspaper or a large drop cloth to the floor to prevent stains.
SAFETY ALERT!
Never refinish near extreme heat or open flame. Stripping chemicals and stains are highly flammable and can ignite.
Wash the table parts thoroughly with TSP (trisodium phosphate), water and a sponge. Let the surfaces dry.
SAFETY ALERT!
Use TSP as directed by the manufacturer. TSP can corrode metal and damage finished wood. Be sure to wear protective eyewear, clothing and rubber gloves.
Step 2: Remove Old Finish
Remove the old finish by sanding or using a chemical stripper. Apply the chemical stripper with a cloth. Just wipe the wood down to remove the old finish. Remember that the more thorough you are during the stripping process, the less you'll need to sand. Smooth out any imperfections in the wood with medium/low-grit sandpaper, being careful around decorative details and curved areas. Be sure to sand with the grain of the wood.
To remove finishes quickly from a table top, you can use a belt sander, but take care not to cause damage by sanding too deeply. Finish with medium-grit sandpaper.
Step 3: Apply Sanding Sealer
As you would when staining a dresser, apply sanding sealer to help the wood absorb the stain. Shake the sealer container and apply two coats with a paintbrush. Wipe it down with a cloth and let it dry completely. Sand with a medium-grit sandpaper with the grain and then wipe again with a clean cloth.
Step 4: Stain
The stain you use will determine the color of the wood once it's finished.
Shake the stain container and then apply stain evenly with a cloth or medium-sized paintbrush, allowing it to penetrate the wood. Wipe off any excess stain with a clean cloth and leave the piece to dry completely. Once it's dry, lightly sand between coats with fine-grit sandpaper. Coat once for a light stain or apply additional coats to create a darker color. Use a clean cloth to apply a wood finish such as polyurethane or tung oil.
HELPFUL TIP
Try using a household fan to expedite the drying process. Don't put it too close though; you don't want it to cause beading on the wood's surface.
Step 5: Re-assemble
When all parts have dried, put the table back together. Double-check that you've re-assembled correctly and that it is sturdy and ready to use.
Good job! You've saved your old furniture pieces and saved money too.
Source: True Value


